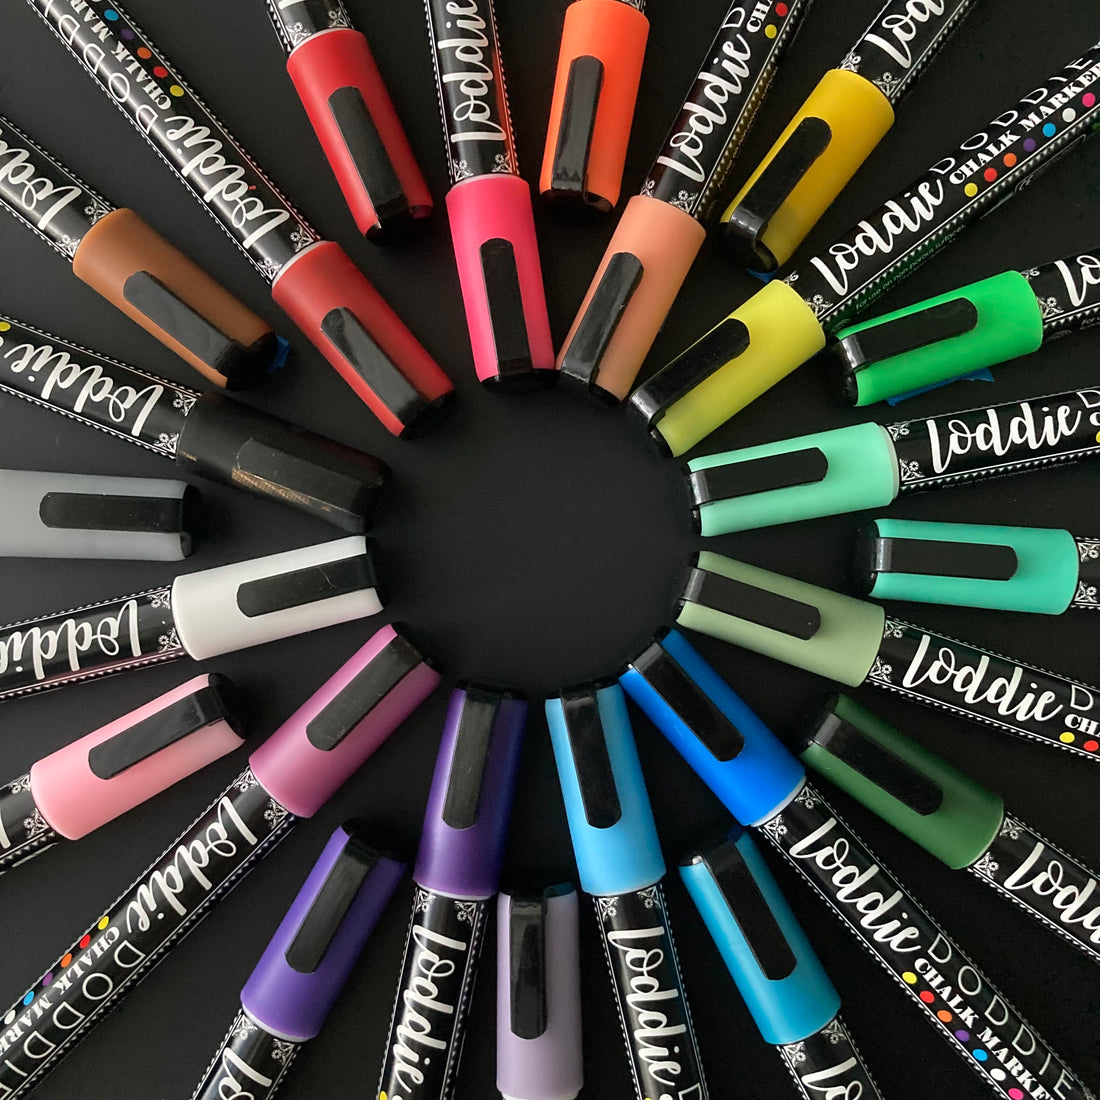
When it comes to DIY supplies and crafts, there are a lot of exciting tools and devices you can use. One you may have heard of is the chalk marker.
Not to be confused with a traditional chalk stick, chalk markers produce chalk-like lines, and while the name includes the word "chalk," there's no actual chalk in them. Instead, they are manufactured using pigment-based ink that, when dry, has a matte, vibrant finish.
Related: 12 Ct. Broad Chisel Point Dry Erase Markers
Using Chalk Markers

If you are new to chalk markers, it's best to start the process by learning what you need. The first step you'll need to take is to gather all your supplies. These include:
Chalk Markers
You can purchase chalk markers in sets or individually. You can also find different colors and tip sizes. No matter what type of project you are trying to complete, you will find the perfect chalk markers for your project.
Project Surface
Chalk markers are designed for non-porous surfaces, such as chalkboards, plastic, vinyl, ceramic, glass, and metal. They also work great with whiteboards.
Chalk markers will also work on porous surfaces, such as paper, concrete, porous chalkboards, wood, chalkboard-painted walls, or MDF chalkboards. However, chalk markers will not fully erase off porous surfaces. Because of this, you need to figure out what you need for your project and read the marker labels carefully before getting started.
There's not a huge difference when using chalk markers on porous vs. non-porous surfaces. The only issue is when you are ready to erase. On porous surfaces, this isn't possible since the tiny pores in the surface will absorb the ink.
Seasoning and Cleaning Materials
For many, one of the most appealing parts of using chalk markers is that they are erasable with a simple damp cloth and water. You can use a cleaning kit or a mix of water, baby wipes, or paper towels to eliminate mistakes or stubborn marks. You can also reapply the chalk marker to ensure your project is perfect.
If you plan to use a porous chalkboard, you must season it to ensure the ink doesn't cause ghosting when you erase it. All that you need for this is a dry cloth and chalk stick.
The right surface matters. At Loddie Doddie, we have dry erase boards and non-porous chalkboards (no need for seasoning) available. Check out our selection to find one that works for your project.
Related: Children’s Collection
Using Your Chalk Markers

Now that you have gathered your materials, it's time to get started. However, before getting started, make sure you prepare your work surface. No matter what surface you use, be sure it's clean before starting.
If you are using a porous chalkboard, you'll need to condition the surface before using your chalk markers.
How to Season Your Chalkboard
If you are ready to season your chalkboard, the process is simple. Run the white chalk stick up and down on the chalkboard. Make sure you cover the entire surface and not just the area where you will draw.
Once you're done, repeat the process in a side-to-side motion. Wipe away the dust using a dry cloth, which will create a cloudy look on the chalkboard. Don't worry; this means you have done it correctly. Once your chalkboard is fully prepped, you can start drawing.
Priming Your Chalk Markers

The chalkboard isn't the only thing that needs some prep work. You will also have to prime your chalk markers.
Chalk markers require you to shake the marker for at least 30 seconds with the lid attached and pump the nib until it fills with ink to start working. Firmly press the tip of the marker on a surface and then release. You will continue this action until you see the ink on the tip of the marker.
Don't use too much pressure since this may damage the tip.
Getting Ready to Draw with Chalk Markers
The color of the chalk marker you use will look somewhat different on different surfaces. It's good to do a spot test on the surface you are using before starting your project. You can do this by drawing a small line or dot close to the edge where it won't be seen. This tactic will help you see how the color is going to look.
When you are ready to draw, you should hold the marker at an angle to the surface to ensure the ink flows easily. Like with any project, it's best to begin with the broad strokes and then fill in the details.
It's worth noting that chalk markers will take more time to dry than other markers. You can avoid smudges by ensuring you don't touch the surface until it is dry.
Getting Creative

As you can probably tell from the details above, chalk markers aren't hard to use. Also, once you get the hang of how they work, they are pretty fun to write and draw with.
You can use these markers for almost any project, and there's a good chance you will want to keep them on hand for creative projects throughout the year. Just remember, the results may vary based on the brand and type of marker you use. Because of this, it's a good idea to do a few test projects first, so you know what to expect.
While this is true, there's no question that you can create all types of fun and beautiful projects with quality chalk markers and a good surface.
Are you ready to try chalk markers for yourself? If so, check out our big box of 24 chalk markers with five metallic colors included.
Related: Let Your Creativity Shine
